Quick Start
Welcome to the Multi-User manual. You will find here all the documentation necessary for the good use of the addon: Multi-user 0.5.0 Reference Manual
First of all, let’s have a quick look at the Multi-User features.
Username and color
When you launch the addon for the first time you can find this panel in the Sidebar of your View3D:
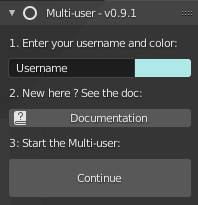
- Choose a name and a color that will be specific to you and that will allow others to identify you easily once in session. Don’t worry, they can be changed at any time in or in .
- Press Continue
Multi-User side pannel
Once the Multi-User is launched you will arrive directly on the main menu:
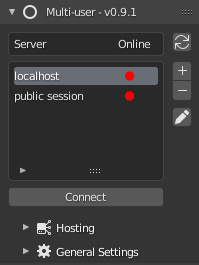
Three panels are at your disposal:
- Server list: You can add, delete and edit server presets according to your preferences. At first launch two servers will already be in your preferences: Public Session, the public server of the Multi-User Discord, Localhost, to connect locally to your server.
- Hosting: To locally host a session with a Blender instance.
- General Settings: Include advanced addon settings like user info, server ping, cache, etc.
Session management
The multi-user addon provides a session management system. In this guide, you will quickly learn how to use the collaborative session management system in three parts:
For more details on what the addon offers: